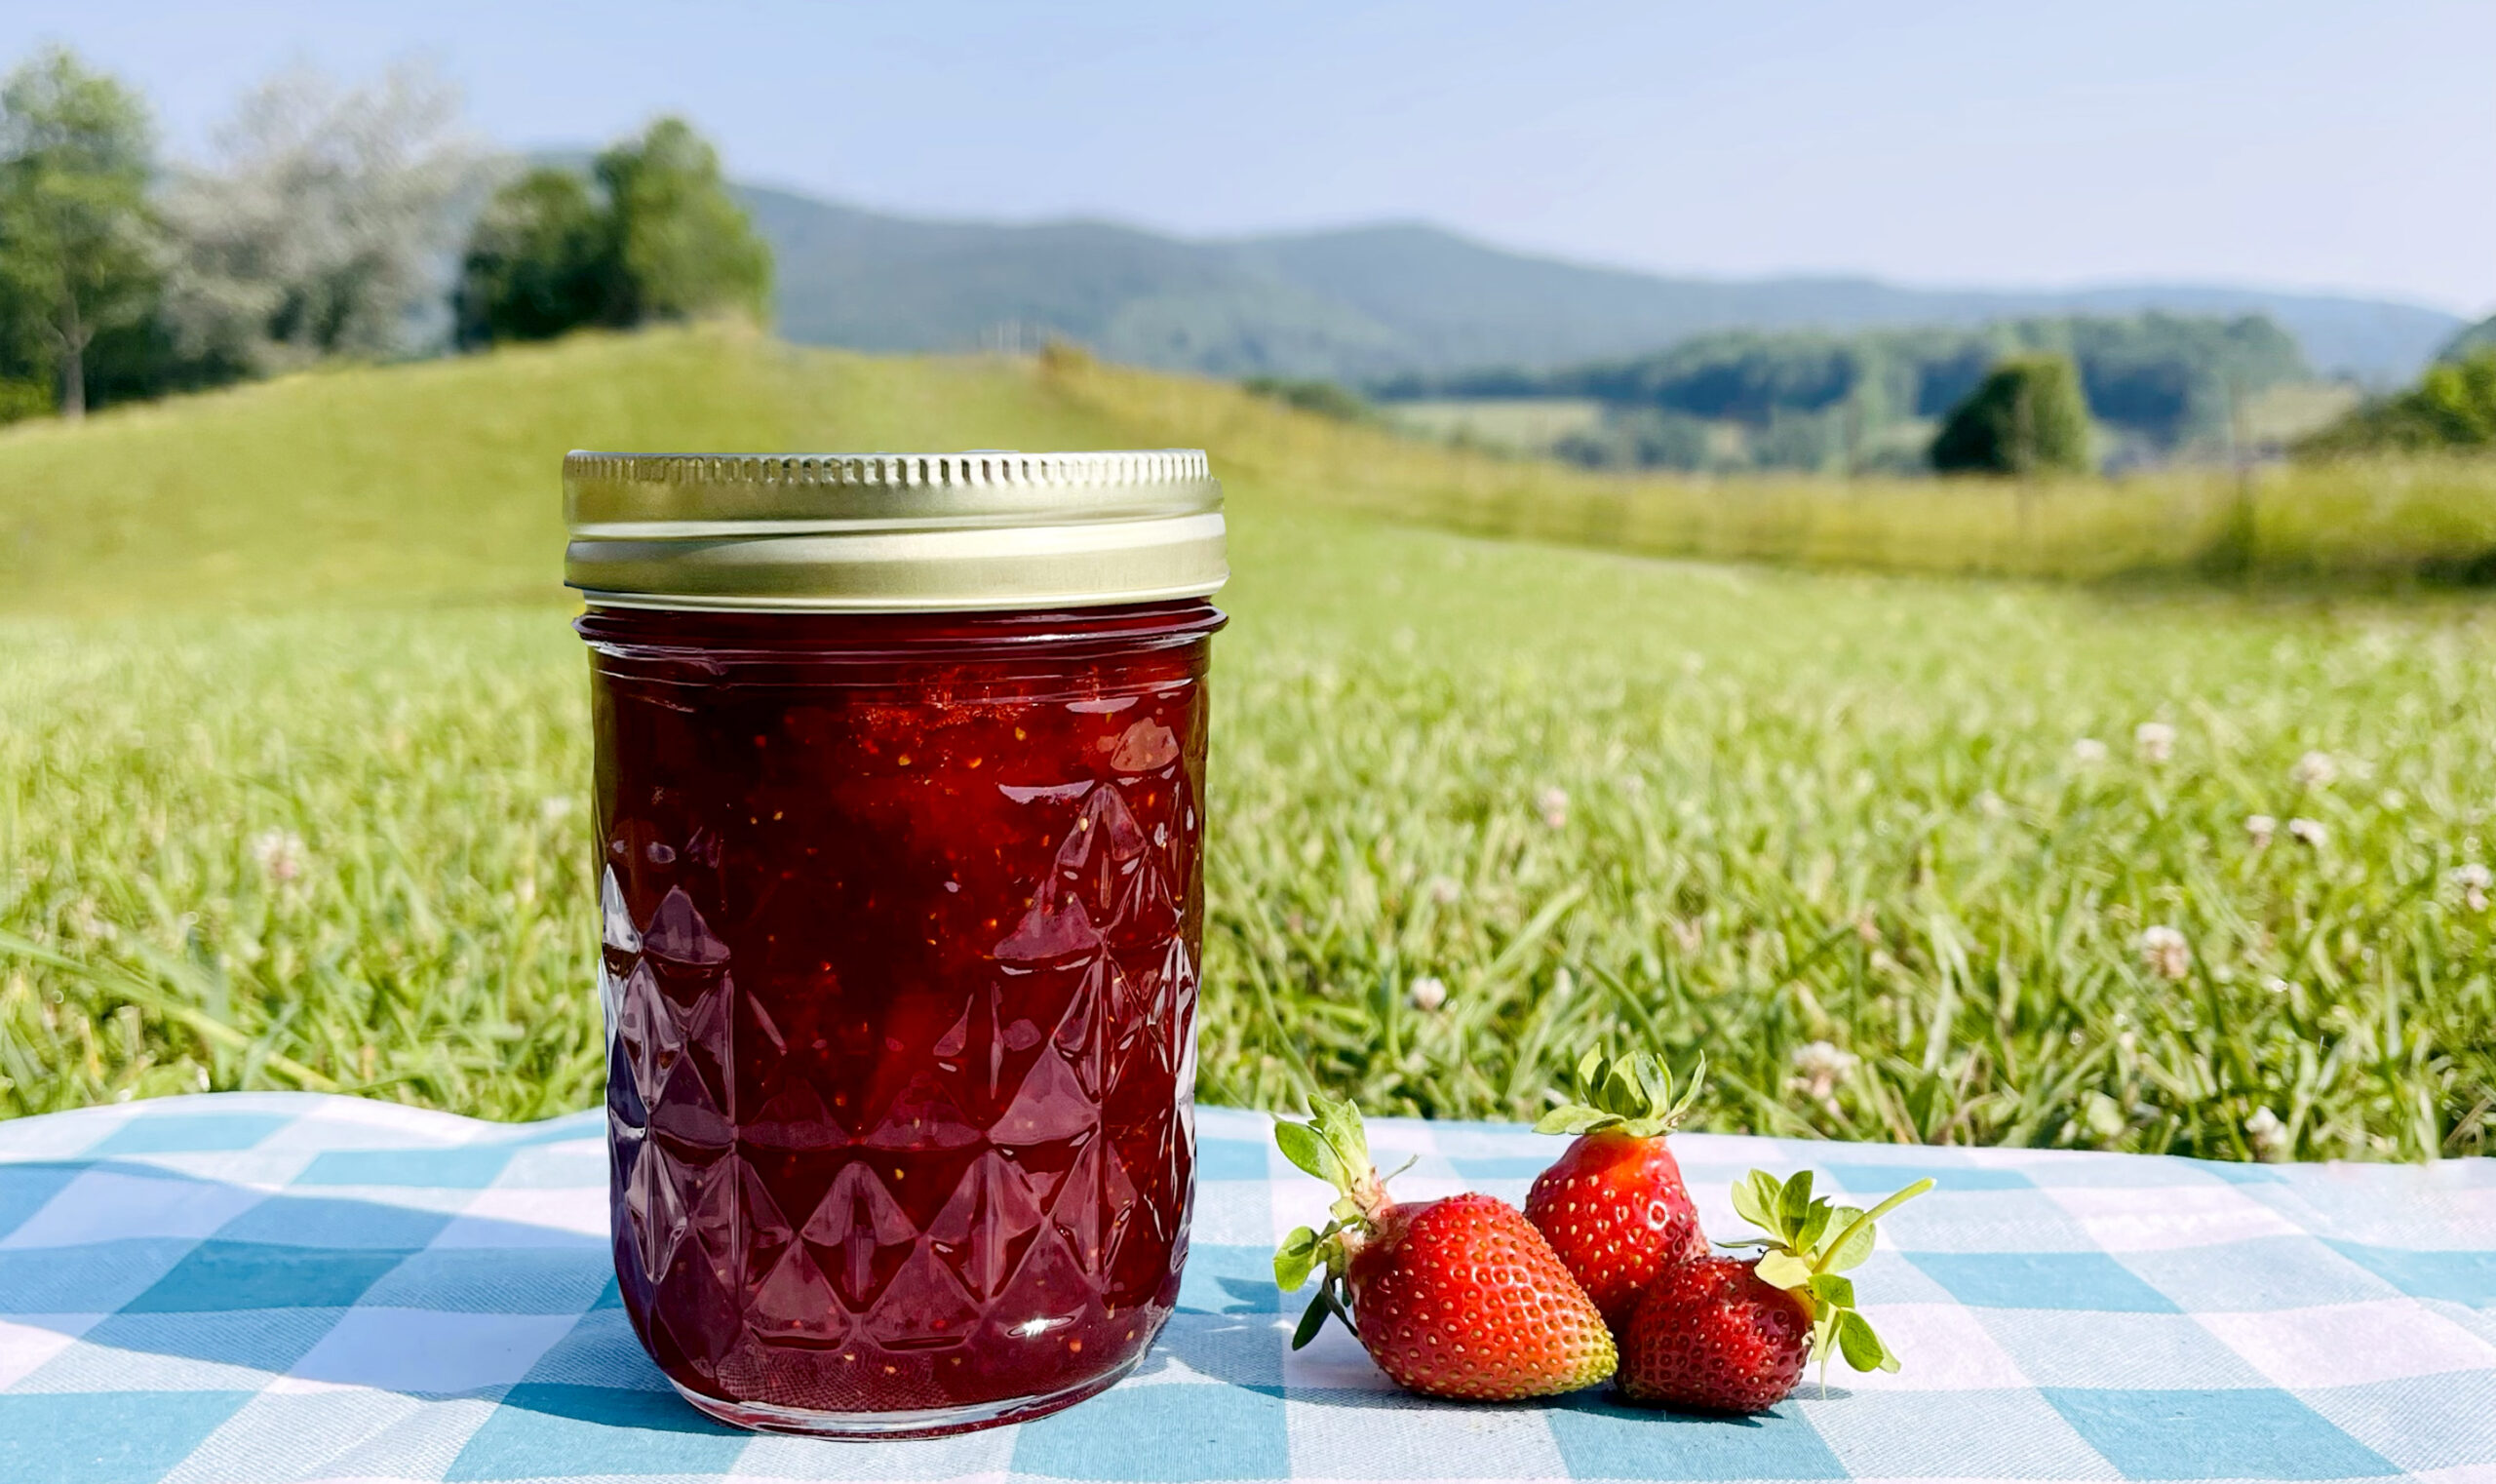
Welcome back to our series on preserving strawberries. Last week we started with one of the easiest strawberry recipes…strawberry compote. This week is strawberry jam. This preserving method can be a little trickier because timing and measurements matter a whole lot in order for your jam to set properly. But as long as you follow the recipe, you should easily be on your way to yummy.
This week we are using the recipe straight out of the SureJell box. I have made this jam several times and it doesn’t disappoint in flavor or consistency. Everyone loves this jam. Everyone wants to take a jar home. Everyone asks me to make them some.
OK, you should be convinced by now. Let’s get started.
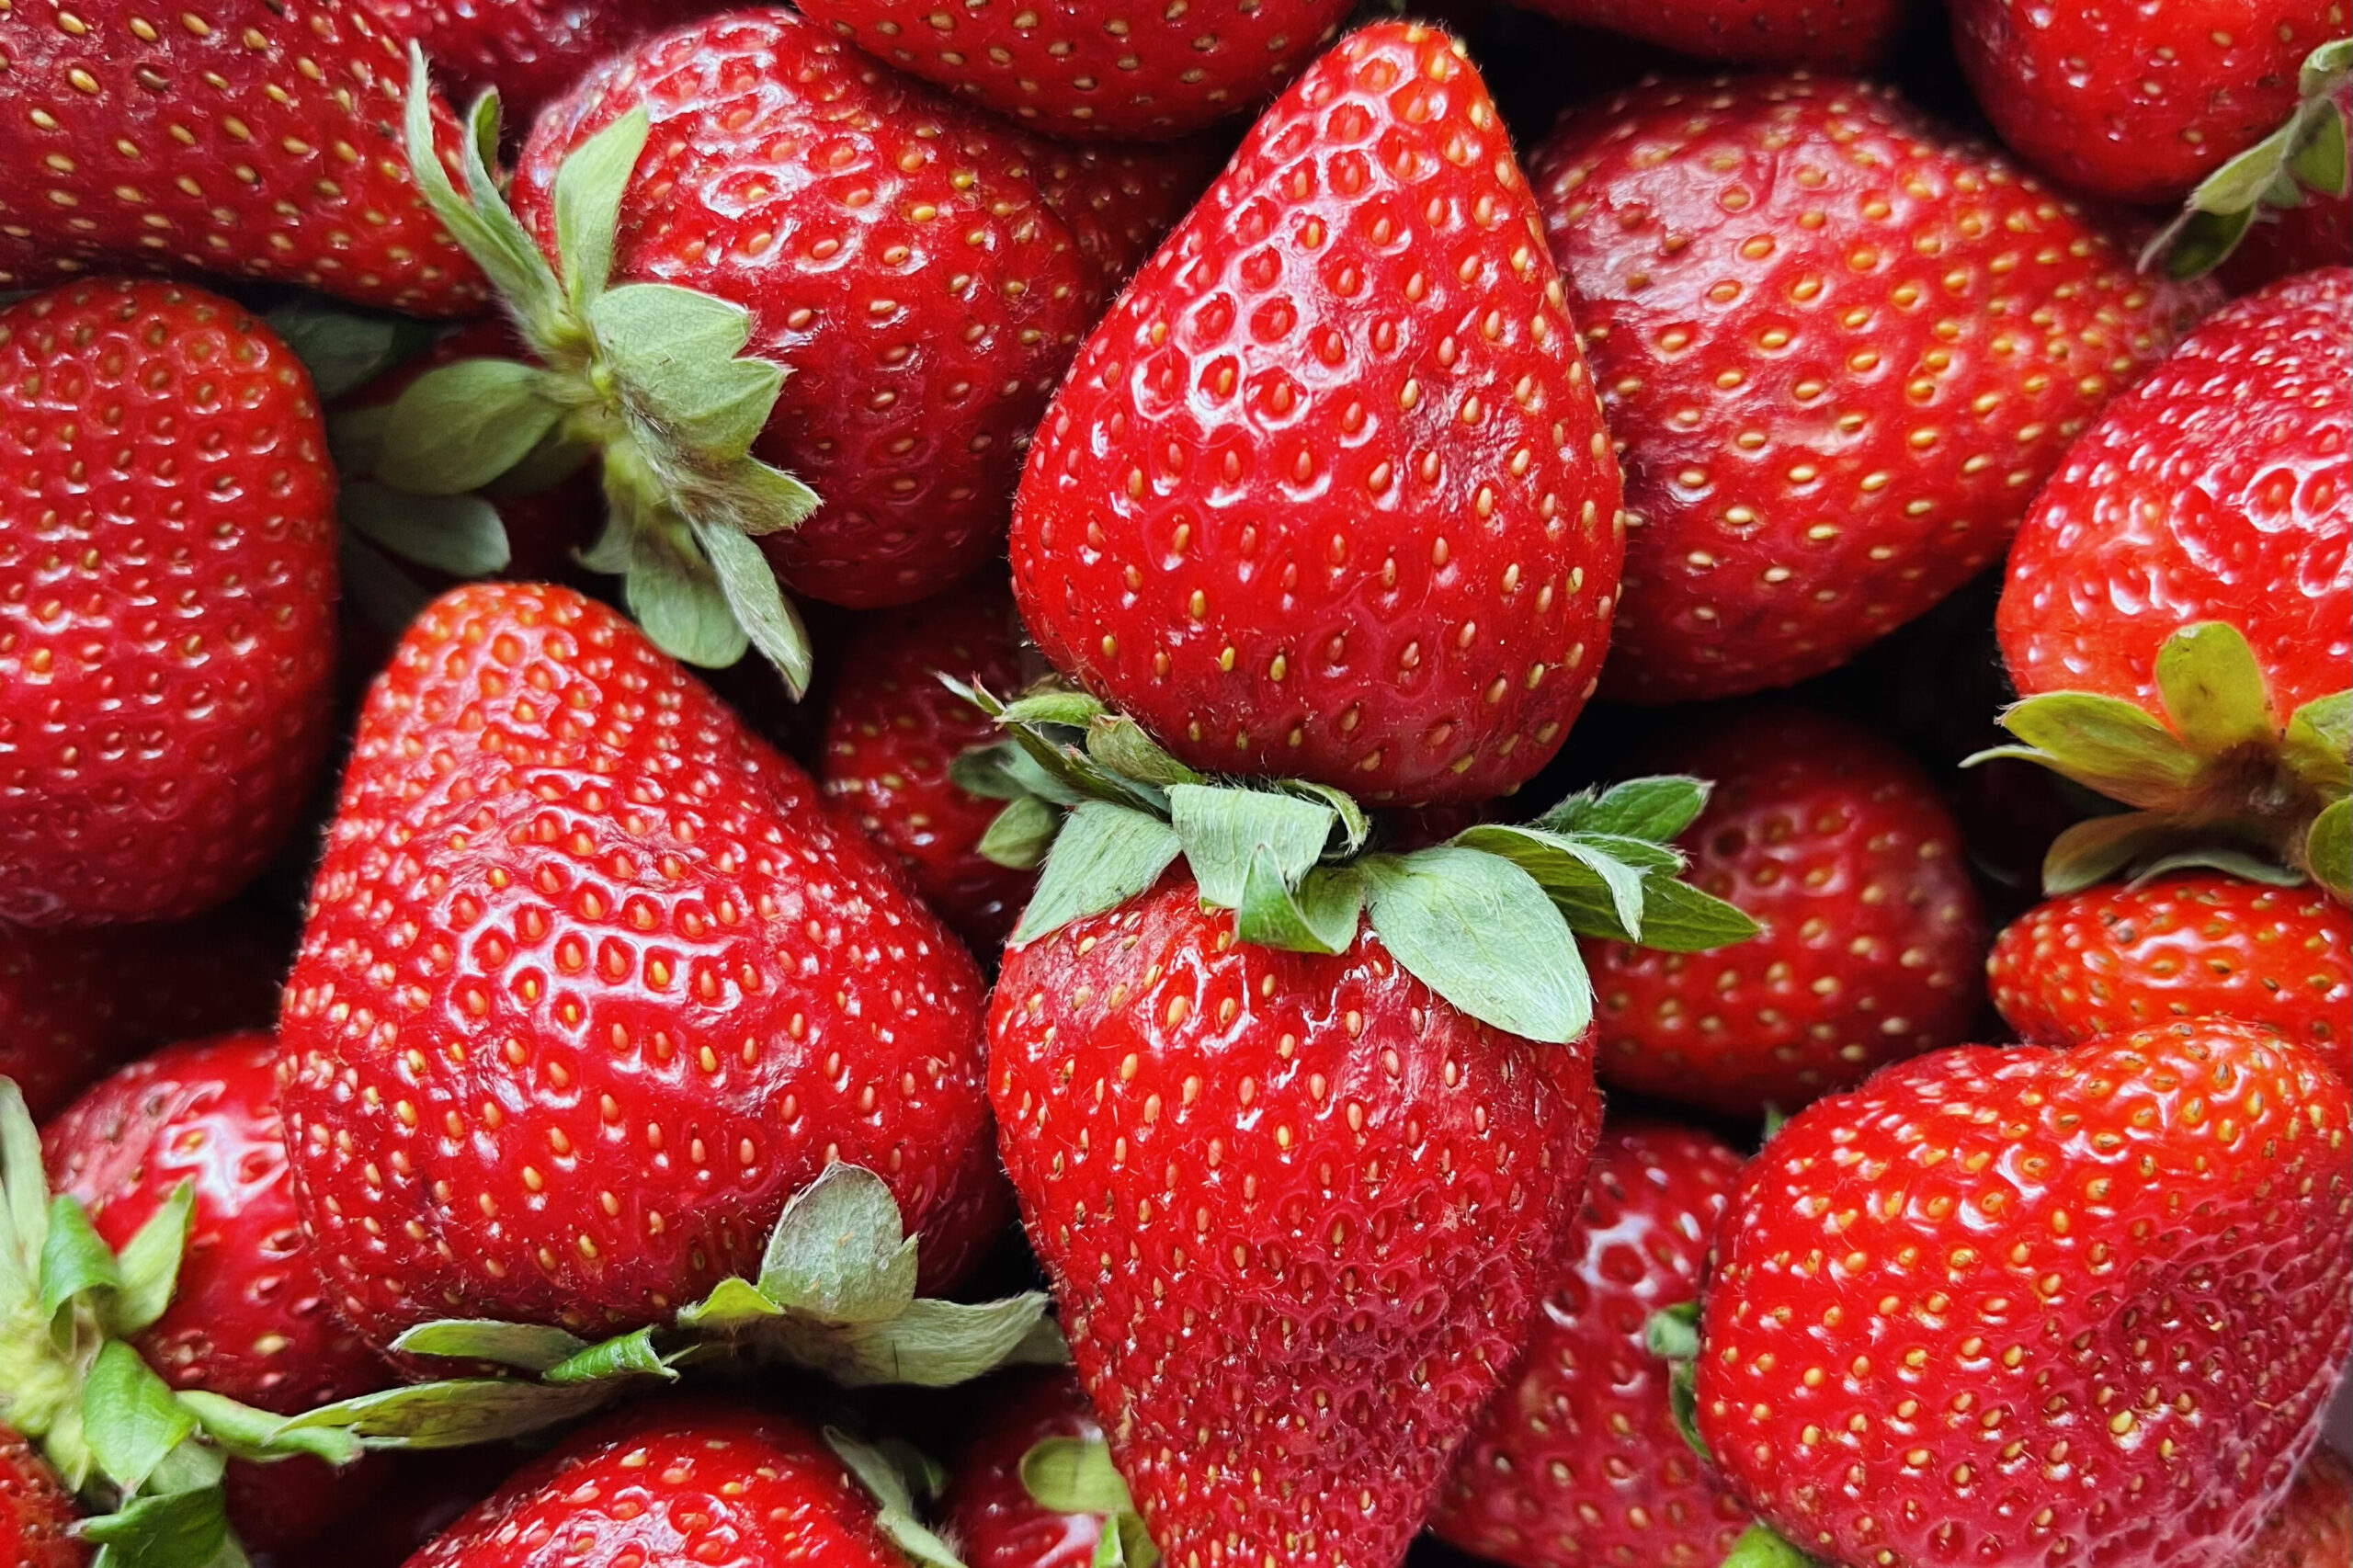
First of all, let’s talk strawberries.
Head down to your local farmers market, farm stand, or produce store and buy yourself a gallon bucket of strawberries. Or if you’re feeling extra adventurous and a little froggy, go for a drive out in the country and make your way to the you-pick patch and pick them fresh yourself. The kids will have a great time and you will definitely notice a difference in the taste of farm fresh produce over store bought.
Washing and storing
When you bring them home, don’t wash them right away. If you wash them, they go bad much faster. Simply put them in the fridge and make your jam the next day. Or if it’s going to be a few days, put them in an airtight container, they will last longer that way (minus the picky fingers that will reach in and munch on them…hey, what’s a little dirt, huh?). When you are ready to use the strawberries, that is when you wash and trim them.
Trimming and slicing
Once your berries are washed, use a small paring knife to cut the tops off, or a strawberry huller, which will make quick work of the job and removes less of the strawberry. You can use it for tomatoes too. Either way, use what you have. If you have larger strawberries, go ahead and halve or quarter them. But whatever you do, don’t throw away those tops! We have a special treat coming for those in the third week of the series.
Measuring
Measure out 8 cups of your cleaned and trimmed berries with a dry measuring cup and dump the berries into a large saucepan. I use this large 8 Cup measuring cup quite often. It comes in pretty darned handy when I am canning and measuring large batches of my garden goodies.
Crush em
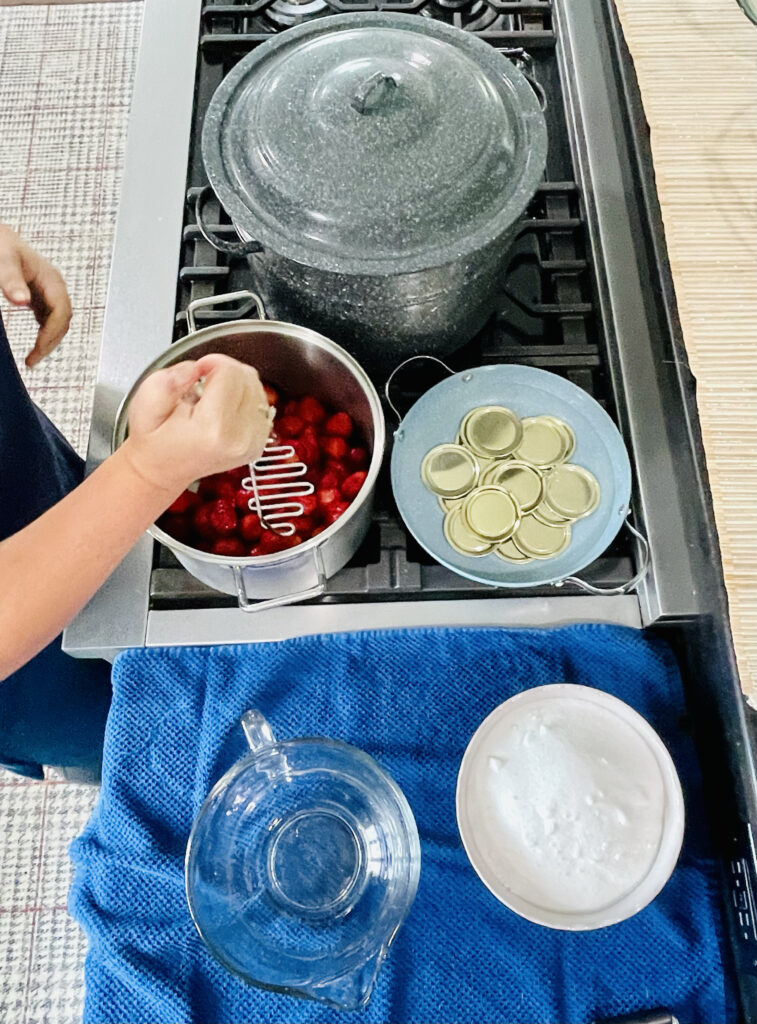
There is something very satisfying for me when I use a potato masher. For one, it makes me feel strong. lol. But I also feel like I can control the consistency better vs. using a blender. Of course, you can use a blender to make the process go faster. But I like the manual option to ensure I have a chunkier jam. Once your berries are crushed to your desired consistency, measure one more time, this time with a liquid measuring cup. You should now be working with 5 cups of crushed berries. I had a little more than 5 cups, so I saved the rest to use in next weeks recipe.
Now let’s can it
Again, I am using jelly jars for this recipe. Make sure they are washed and cleaned well.
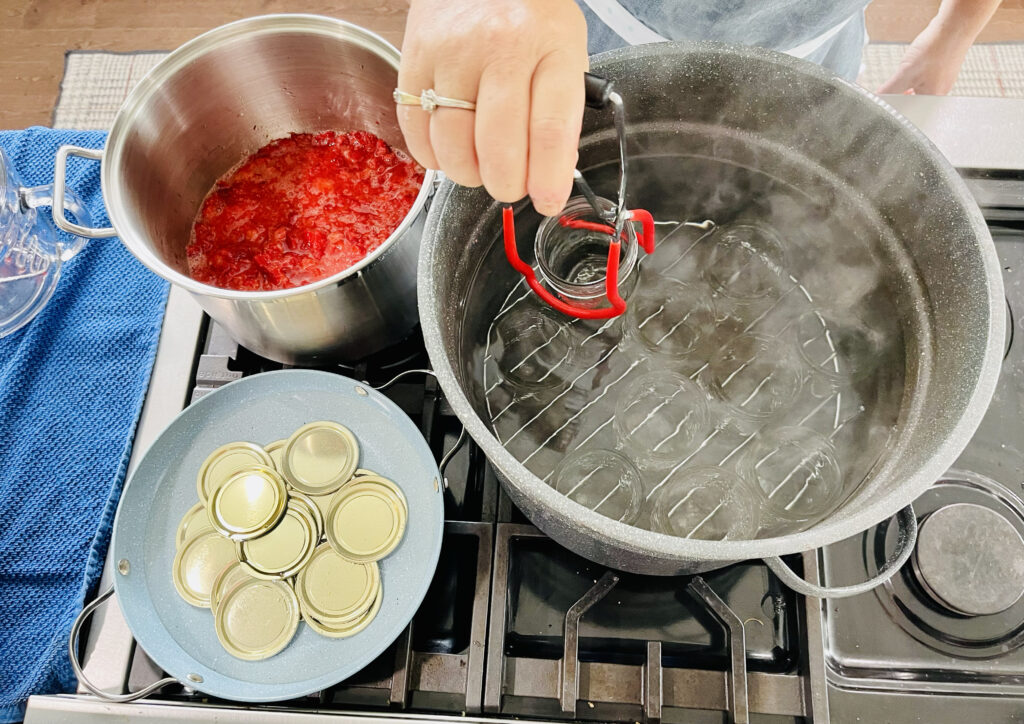
If you don’t have a water bath canner, then use your tallest stock pot. The pot needs it to be tall enough for the water to cover the jars about an inch. You will need a flat rack or fold up some aluminum foil and place it at the at the bottom of the pot so the jars are not rattling around on the bottom of the pot. Get that water into the pot and on the stove to heat up while you get all of your other supplies together. Also, place your jars in the pot of water too so they can be nice and warm when you pour in the hot jam. Your lids should be sitting in a hot water bath in a small pan at this time too.
If you are new to canning, this starter kit is a must have. You can find it at big box stores pretty easily. Basically it has all of the things you need to pluck hot things out of hot water. Yeah, you need it. Also, here is the same water bath canner that I use. Pretty standard. But oh so handy.
Your work station on the counter next to the stove should include: dish towels spread out on your work surface (jams and jellies can be a sticky, messy business). On top of that should be your new canning tool kit, canning rings, ladle, small little bowl of vinegar to wipe the rims of the jars, paper towels to dab into the vinegar, hand towel or wash rag to help hold the hot jars and a spoon in case you overfill your jars.
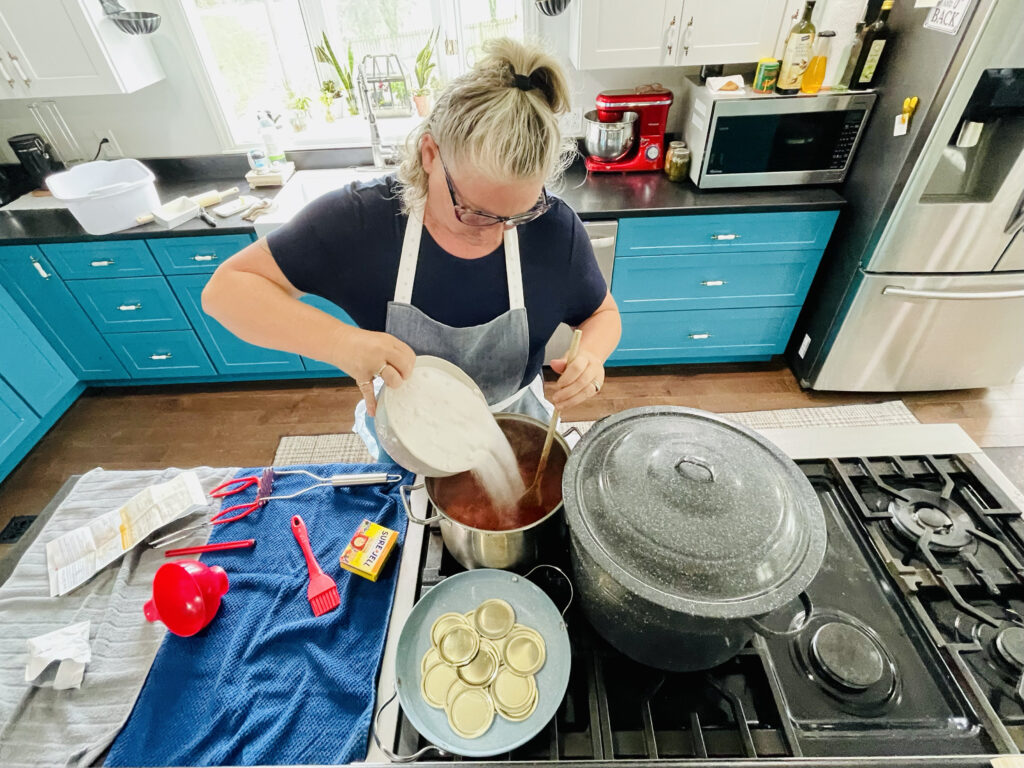
And let’s address the amount of sugar used in this recipe. Yes, it is a lot. But I am not eating a full jar of jam in one sitting. However, I am also very aware of dietary restrictions of so many folks out there who will need a less, or zero sugar option. If that is the case for you, I offer this website. It provides options to make jam with Stevia and Sucralose (Splenda). You will also need SureJell for less or no sugar recipes. I have never tried these approaches to jam, but if I did, I would refer to the recipe in SureJell the box and use the Sugar Free Diva for additional guidance and information.
Take note…
It’s important to note that you cannot make multiple batches at once using SureJell. The jam simply will not set. You just have to be patient. One batch at a time.
When the recipe states “full rolling boil” that means that the jam does not stop bubbling when it is stirred. This is important. Do not add the sugar when you reach a boil. Add the sugar when you reach a “full rolling boil”. Also, make sure your sugar is measured out and waiting for you in a separate bowl. When it is time to add the sugar, it is time to add ALL of the sugar, not one or two cups at a time.
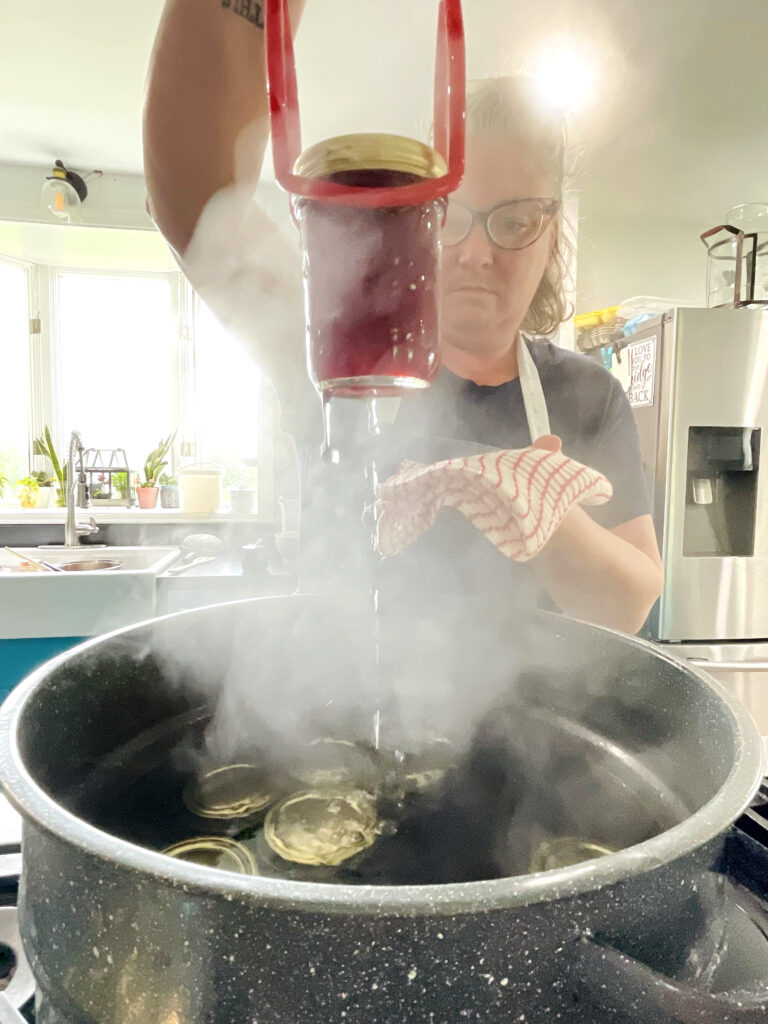
If you have a lot of extra room left in your pot, go ahead and add some empty jars (without the lid). I like to do this to help support the jars in the boiling process. It is one more method that can be used to keep the jars from rattling around as much. It’s heartbreaking to open your canner lid and find floating strawberries because one of the jars broke. But hey, it happens.
Now for the recipe
Strawberry Syrup
Equipment
- 1 Large saucepan
- 1 Dry measuring cup
- 1 Liquid measuring cup
- 8 Jelly Jars, lids, ring seals
- 1 Canning rack and Canner
Ingredients
- Strawberry Tops
- Water
- Sugar
Instructions
- Pour strawberry tops in a stockpot and cover with water.
- Bring to a boil and simmer for 10-15 minutes.
- Take pot off the burner and carefully strain out tops.
- Pour juice back into the pot and add sugar. This is a 1 to 1 ratio, so if you have 6 cups of juice, add 6 cups of sugar.
- Bring juice back to a boil and then simmer until it reduces by 1/4, roughly 1 hour.
- Turn off burner, pour syrup int a jar and store in fridge.
- For canning instructions, process in hot water bath for 10 minutes.
