There is one thing there is no shortage of here on the Hartman Homestead, and that is poop! So of course poop management is an essential aspect of maintaining a clean and healthy operation. It is surprising how much poop can accumulate in a chicken coop, and not only does coop poop need to be managed, it needs to be put to work. That being said, I would much rather my chickens work hard at managing their own home instead of me. I mean, they need to earn their keep, right? I have plenty of other messes to clean up.
So, what is the deep litter method?
The deep litter method is one way of keeping your coop clean without having to clean it. The method calls for allowing chicken droppings and bedding to build up within the coop over time so that the materials come together to create compost material.
The deep litter method is one way of keeping your coop clean, without really having to clean it. Sounds counter-intuitive, right? Well, it kinda is. But it works in so many different levels (both scientifically and practically) that I have a hard time justifying any other way of maintaining a chicken coop. The method calls for allowing chicken droppings and bedding to build up within the coop over time so that the materials come together to create a basically hands free compost material. You don’t have to turn it (aerate it), the chickens do that. You don’t have to add nitrogen (poop), the chickens do that too. All you have to do is keep adding bedding (carbon) and make sure the coop is well ventilated and dry. It really is that simple! Plus, there is the added benefit of heat. The composting materials create heat (just like your compost piles) which will help keep the coop a bit warmer in the winter than it is outside.
Nobody wants a stinky chicken coop

Neither do we and neither do our Chicken Ladies. Ammonia build up can cause eye and respiratory irritation for your chickens. It needs to be tended to. That is where the carbon comes in. It makes sense that over time if you let the droppings accumulate and pile up, there is no doubt odors will develop. Yes… it will happen. But as soon as you begin to smell the funk, you add bedding. The bedding absorbs the nitrogen immediately and the smell is gone. Thus the fermenting process is fed and you have a clean coop.
What materials do we use?
We prefer to use fine pine shavings as our bedding (carbon material). Fine shavings break down faster than flake shavings. Therefore, fine shavings are giving the compost process a bit of a head start.
DO NOT use cedar shavings in your chicken coop. Cedar shavings contain very tiny dust particles that house plicatic acid, which acts as a fungicide that helps protect cedars from decay. No matter how well ventilated your coop is, the chickens inhale this toxin and will cause a wide range of respiratory symptoms that can lead to death in both adult and baby chickens. Pine shavings! Use Pine shavings!
We also use straw in our nesting boxes. As the straw gets dirty, we will remove it and add it to the floor with the rest of the pine shavings (more carbon…). But what we don’t do is use hay or straw as the primary source of carbon. It does not absorb and can carry or promote mold and fungi which you do not want in your coop. Hay is simply an additional ingredient that can be used but not the main ingredient.

The process is a simple as the concept:
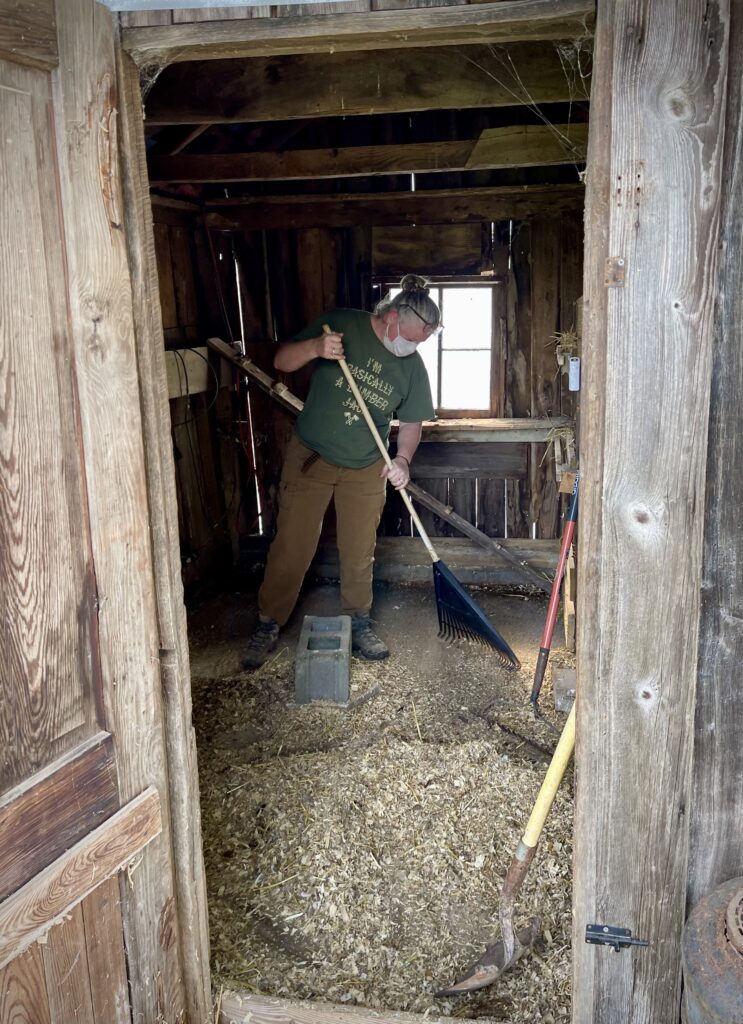
First of all, wear a mask when cleaning out the coop. It is a very dusty process, and we all know what’s in those dust particles. Once you are all masked up, prepare the floor by cleaning out any residual dirty bedding. If you used the deep litter method before, leave a half inch to an inch of the old bedding. This will speed up the decomposition process. This layer will sort of act as “the mother” that you may be familiar with in vinegar or sourdough bread making.
Now it is time to add your first layer of bedding – you will need 4-6 inches of fine pine shavings. After the layer is added, scatter around some chicken treats to encourage the ladies do their business. They will add their own personal nitrogen to their clean coop and will aerate the compost process by scratching it all around. The ladies love to scratch, dig, and explore. Depending on your number of chickens, it will take a couple of weeks to a month for you to know when it is time to add more bedding. Your nose will be your nitrogen detection system. When you smell the funk, add the carbon. Spread another couple inches of fine pine all over the floor and repeat throughout the year. Keep layering your nitrogen and carbon – the chickens will stir their poo for you and you will have hands free compost in a year.
What do I do with all this poo?
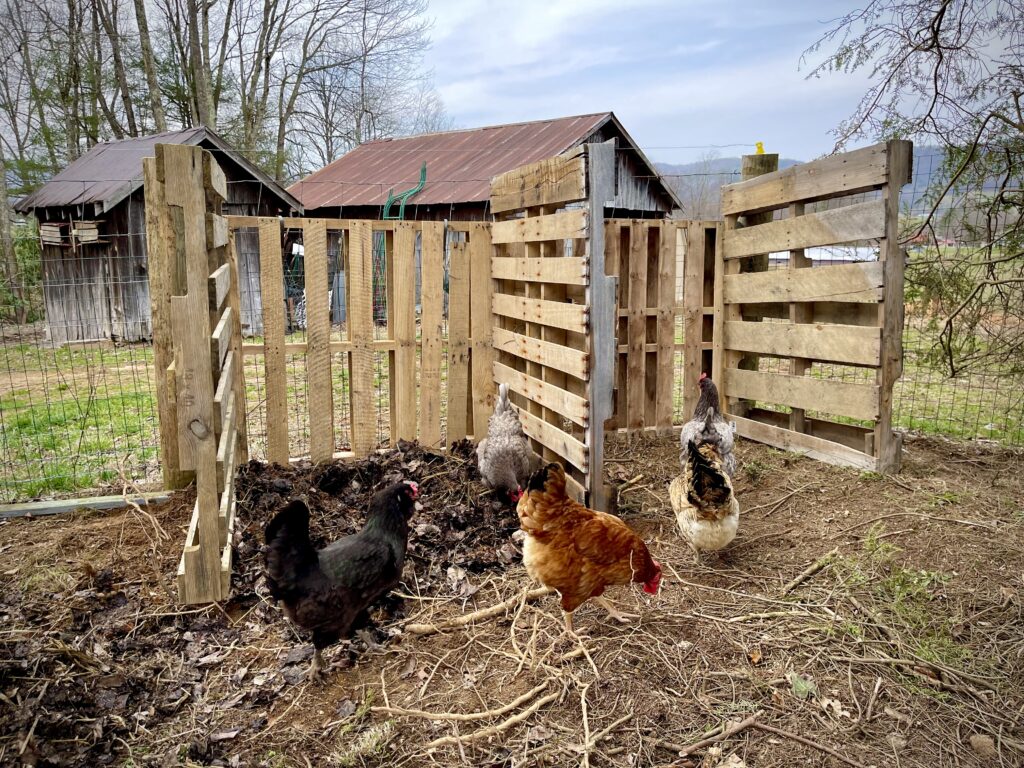
We clean out our coop in the Fall or the Spring, depending on how deep the litter is. Allow the bedding to build up to about 12” before removing it (don’t forget to leave a thin layer of residual for the next cycle). From here you can add it directly to your garden or vegetable plot. If it is not quite fully decomposed, add it to the compost bin to finish along with some fresh grass clippings or other nitrogen rich materials. We made our compost bin out of free pallets *INSERT LINK*. Use what you have!

What to be aware of:
Although it is true that this is a very easy method, there are some things that you must regularly monitor to make sure the process works and your chickens are safe, healthy, and happy.
- Monitor moisture — The litter has to have some moisture for it to turn to compost, but too much will mean wet bedding, which leads to mold, which leads to illness….. you get the picture. Chicken droppings should provide enough moisture so there should be no need to add any. Check the corners of the coop! Rain water can enter the coop through leaky roofs, the walls, and the floor. Make sure you have a water tight operation here. If you find a clumpy damp area, spread the damp bedding around the coop to dry, then seek and repair the problem. Keep your waterers outside of the coop. This will be one less water problem to have to monitor – chickens don’t need to drink at night anyway.
- Manage aeration — Your chicken ladies will do a pretty good job of this on their own but sometimes they will miss a spot. When you feed them their chicken treats try to make sure you are spreading them in all areas of the coop to encourage proper digging and aeration. When you find the clumps, simply break them up and turn them in to the rest of the bedding.
- Adequate ventilation — Air flow should be coming from above their heads when they are roosting. Drafty areas below can mean easy water access, but wind is what will make your chickens cold in the winter. They are hardy little critters, but the wind is hard for them to fight.
- Don’t scoop the poop from the coop — Be patient! The compost and decomposition process takes time. It can take several months, even up to a year to see results. But look on the bright side, I cleaned horse stalls as a kid. It is back breaking and constant work. ou don’t need to do that with chickens. Let it build up! The chickens love the activities that the litter provides, it keeps them warm in the winter, and you have a virtually hands free (and nearly cost free) compost method.
Cheers and Chickens!!

