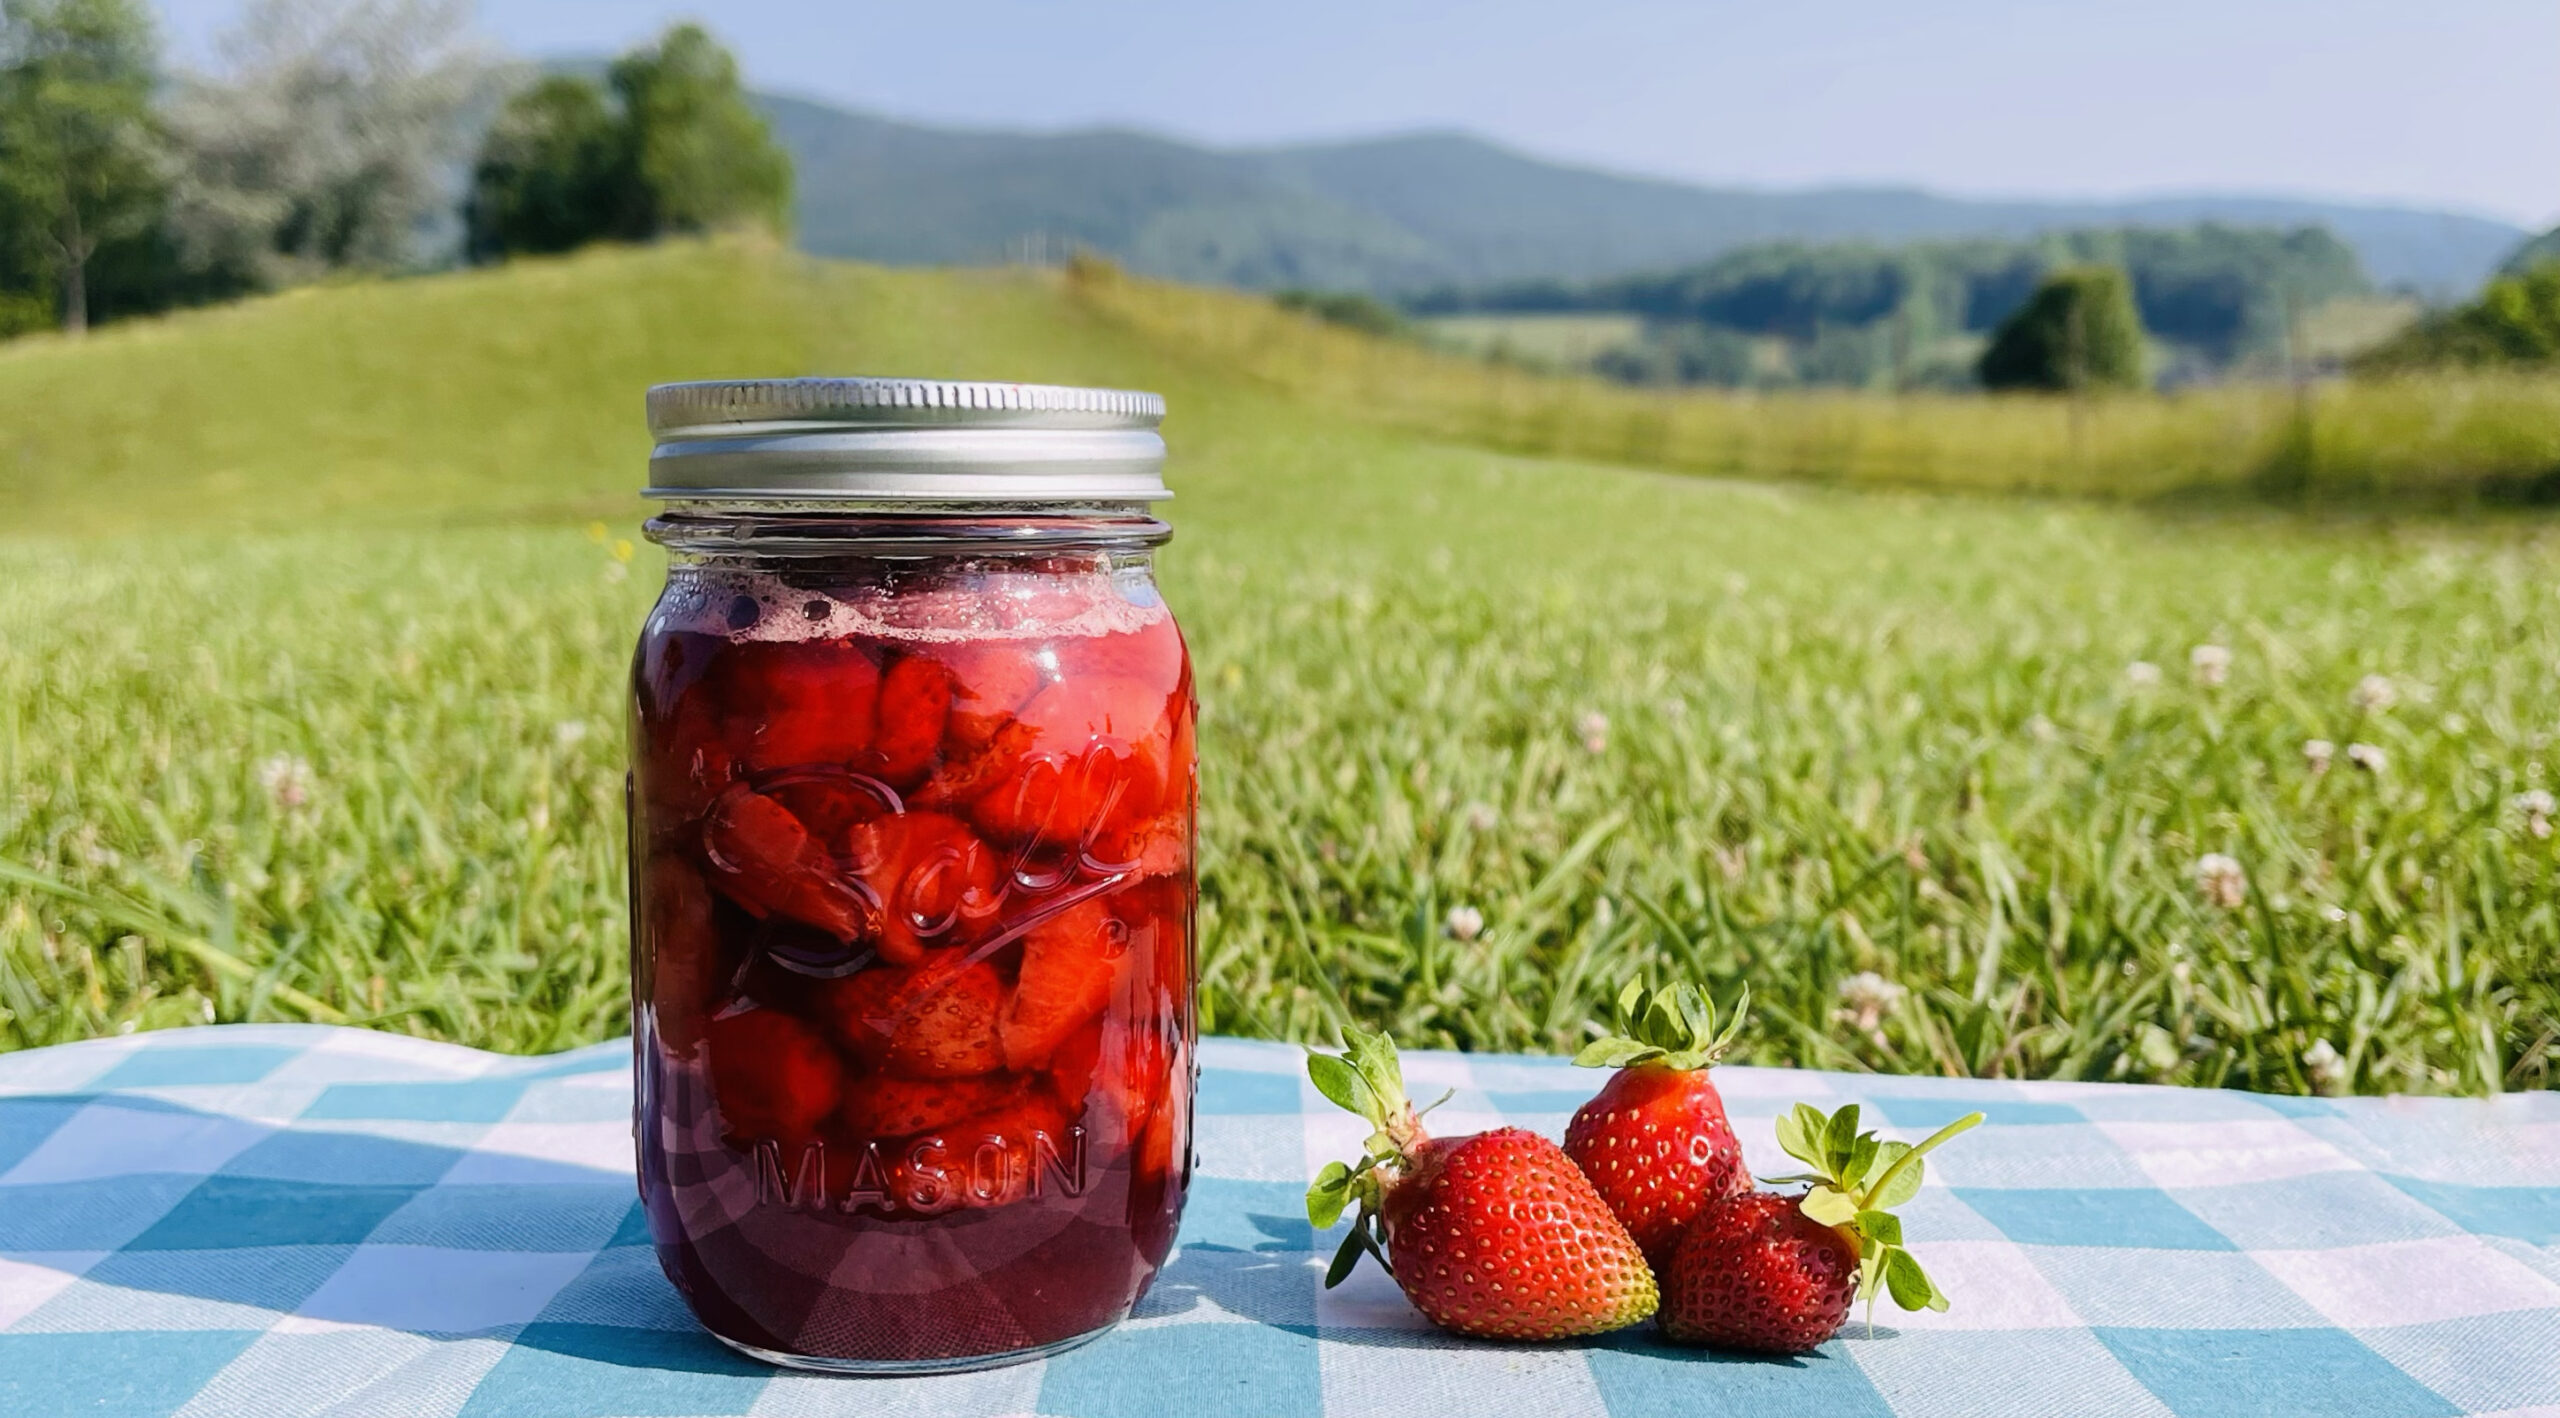
The full moon in June is called the “Strawberry moon” which marks the peak of strawberry season. The Strawberry moon came and went on June 3rd, and so did our strawberries. Our strawberry plants are fairly new to us. We received around 75 plant starts from our neighbor in the fall last year which gave us an amazing head start on creating our own strawberry patch. So this Spring is the first season we had our very own strawberries and let me tell you, it has been a tasty treat. So tasty in fact that we ate most of what we picked rather than preserving them. BUT, we did manage to get a good batch made into some yummy strawberry compote. You know, that stuff they put on top of your waffles at your favorite breakfast hangout. It is so simple and easy to make. You only need two ingredients: strawberries and sugar.
The full moon in June is called the “Strawberry moon” which marks the peak of strawberry season. The Strawberry moon came and went on June 3rd, and so did our strawberries.
I like this recipe for its simplicity, which is why I chose to make this the first recipe in this three-part strawberry series. You don’t even have to can the compote. You can whip up a small batch in 15 minutes and serve it however you wish. It will store in the fridge in an airtight container for about 7 days. Some say 14 days, but I choose to err on the safe side. The second reason I like this recipe so is because there are so many uses for it. Of course you can top waffles, pancakes and French toast with some of this ruby-red deliciousness…with a little whipped cream of course (I can do a blog for homemade whipped cream if you want, too!) But you can add a bit of the strawberries and syrup to your soda water for a little spring zing. You can spoon some over top of cheesecake or ice cream. And hey why not go for the gusto and use it in a cocktail or two…or three. It is a very handy accessory to have in your pantry. Lastly, the third reason I like this recipe is because it does not require as much sugar as some of the other preserving methods…which I will be sharing with you over the next two weeks. A little bit of sugar goes a long way in this recipe. The sugar draws out the juices of the strawberry and that is what we will be canning the strawberries in…their very own juices. Need I say more???
OK, my mouth is watering. Let’s get started.
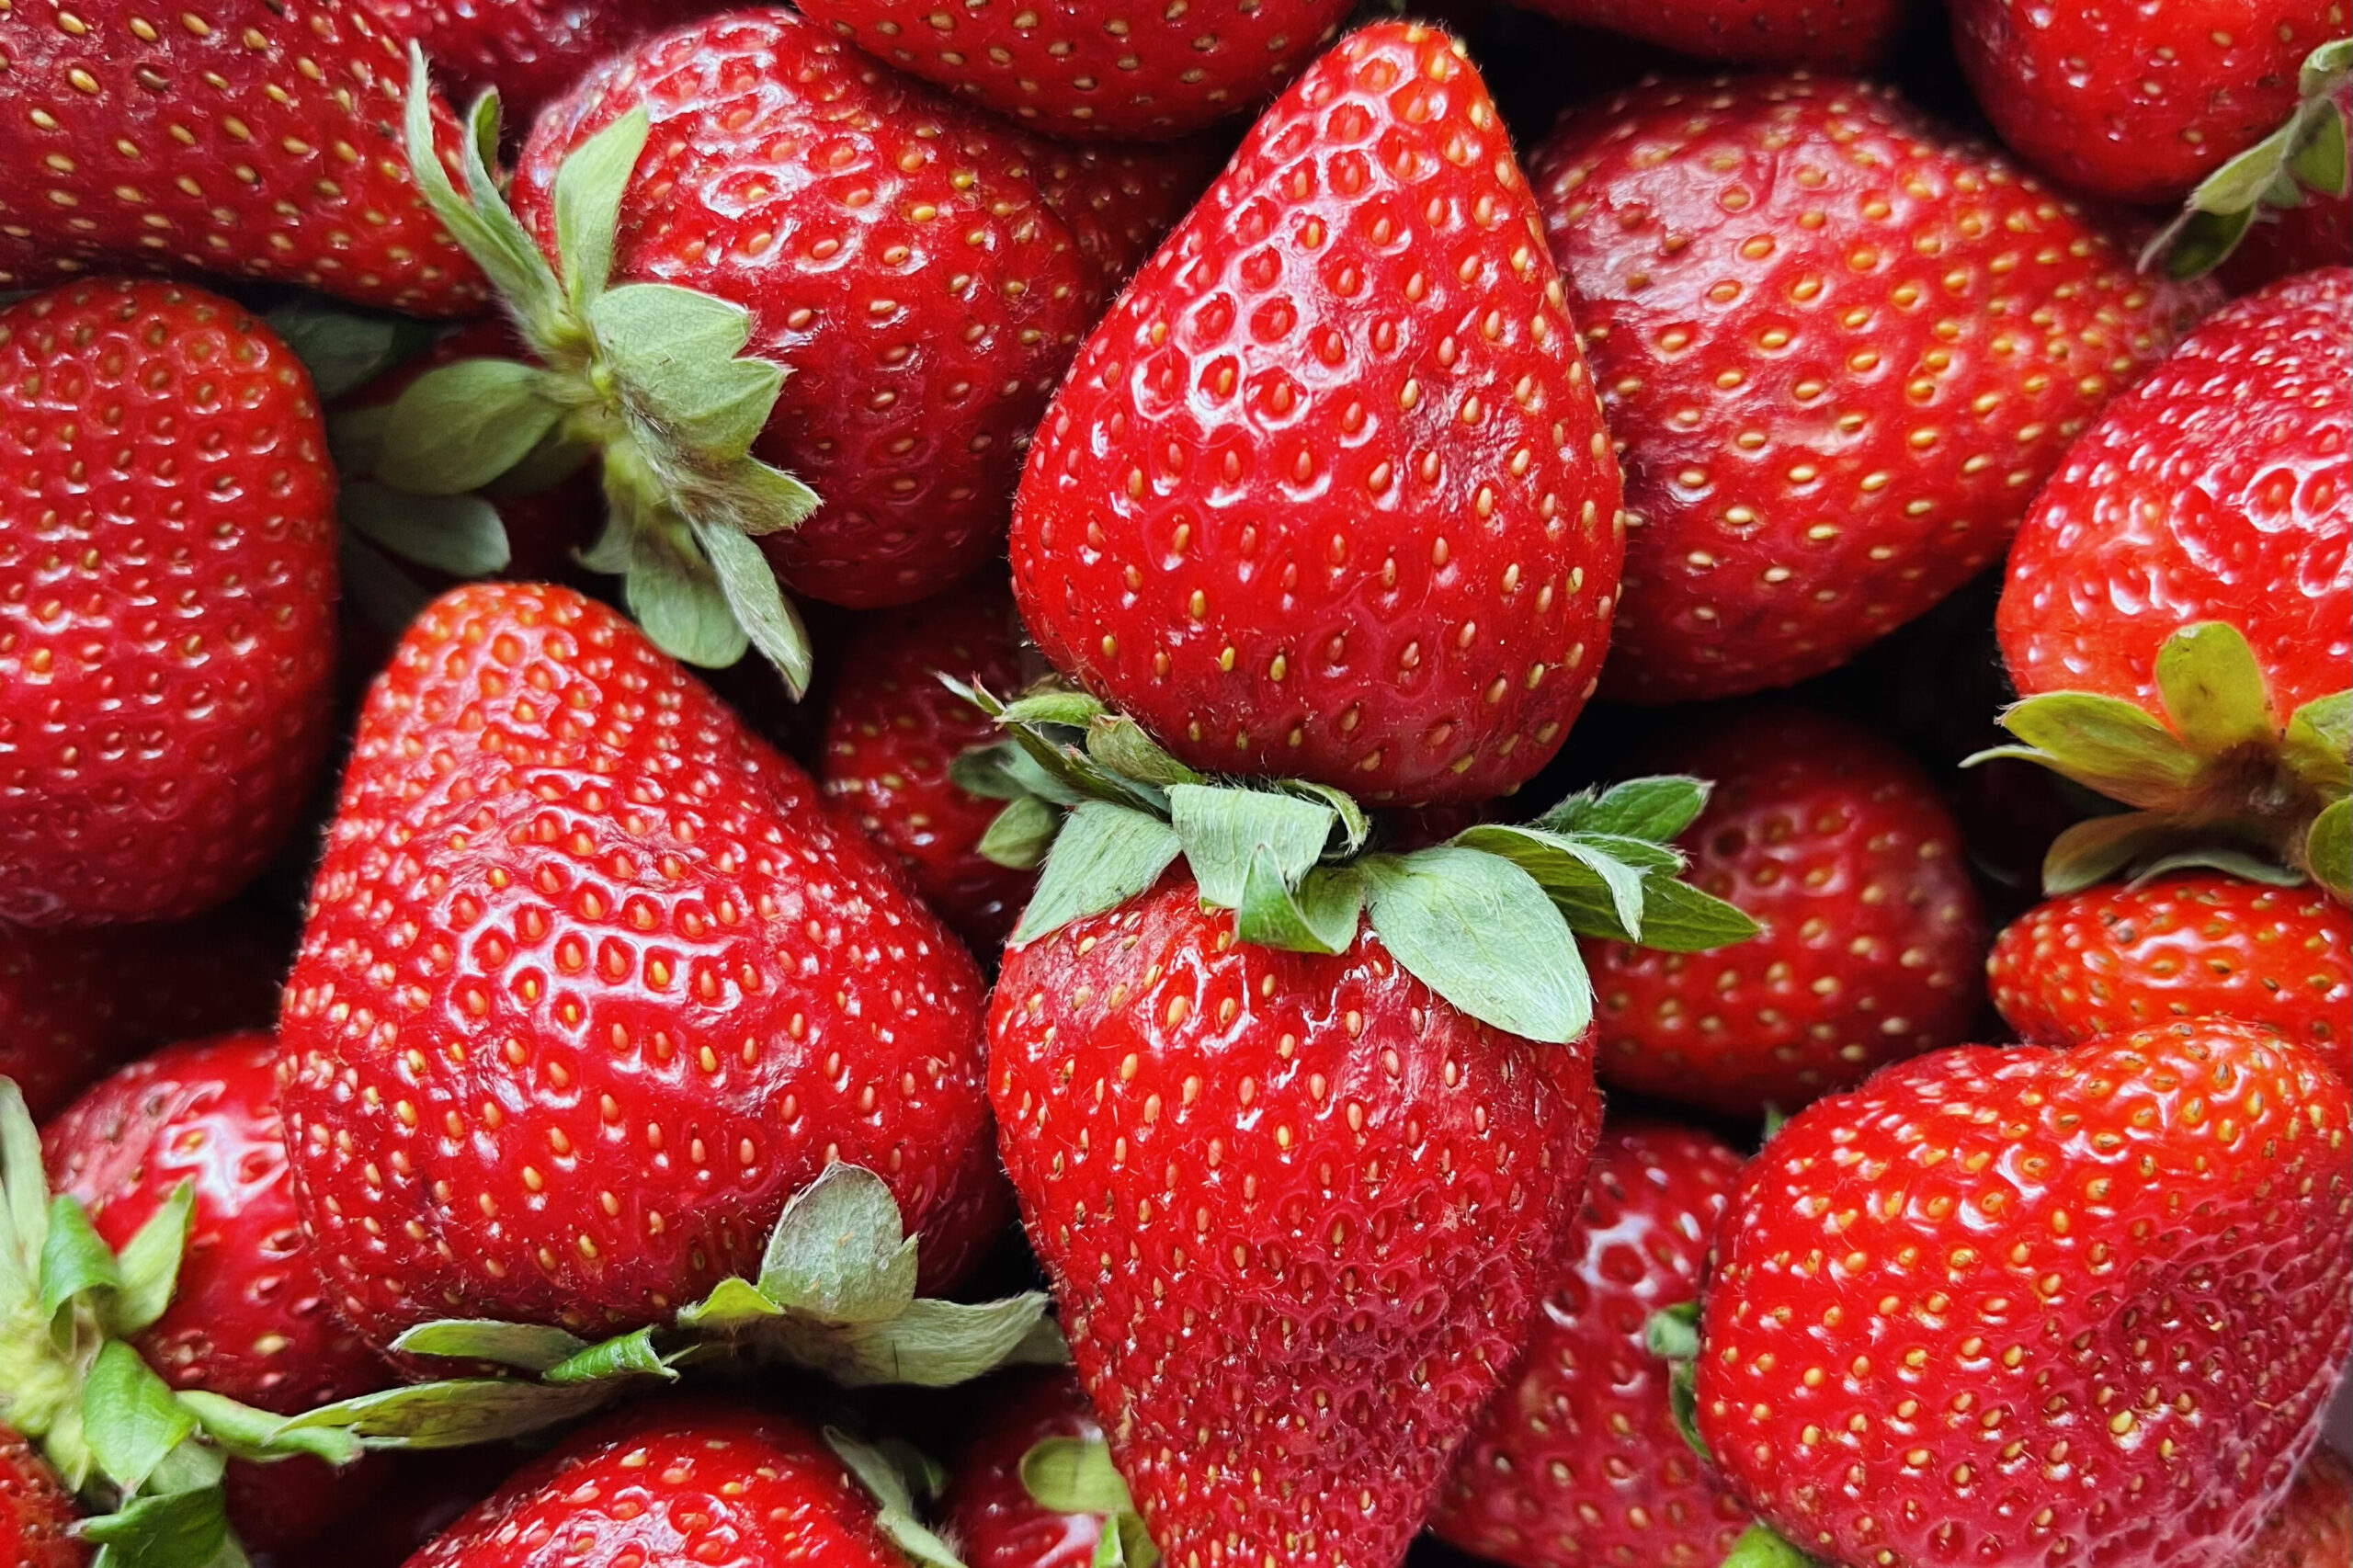
First of all, let’s talk strawberries.
Head down to your local farmers market, farm stand, or produce store and buy yourself a gallon bucket of strawberries. Or if you’re feeling extra adventurous and a little froggy, go for a drive out in the country and make your way to the you-pick patch and pick them fresh yourself. The kids will have a great time and you will definitely notice a difference in the taste of farm fresh produce over store bought.
Washing and storing
When you bring them home, don’t wash them right away. If you wash them, they go bad much faster. Simply put them in the fridge and make your compote the next day. Or if it’s going to be a few days, put them in an airtight container, they will last longer that way (minus the picky fingers that will reach in and munch on them…hey, what’s a little dirt, huh?). When you are ready to use the strawberries, that is when you wash and trim them.
Trimming and slicing
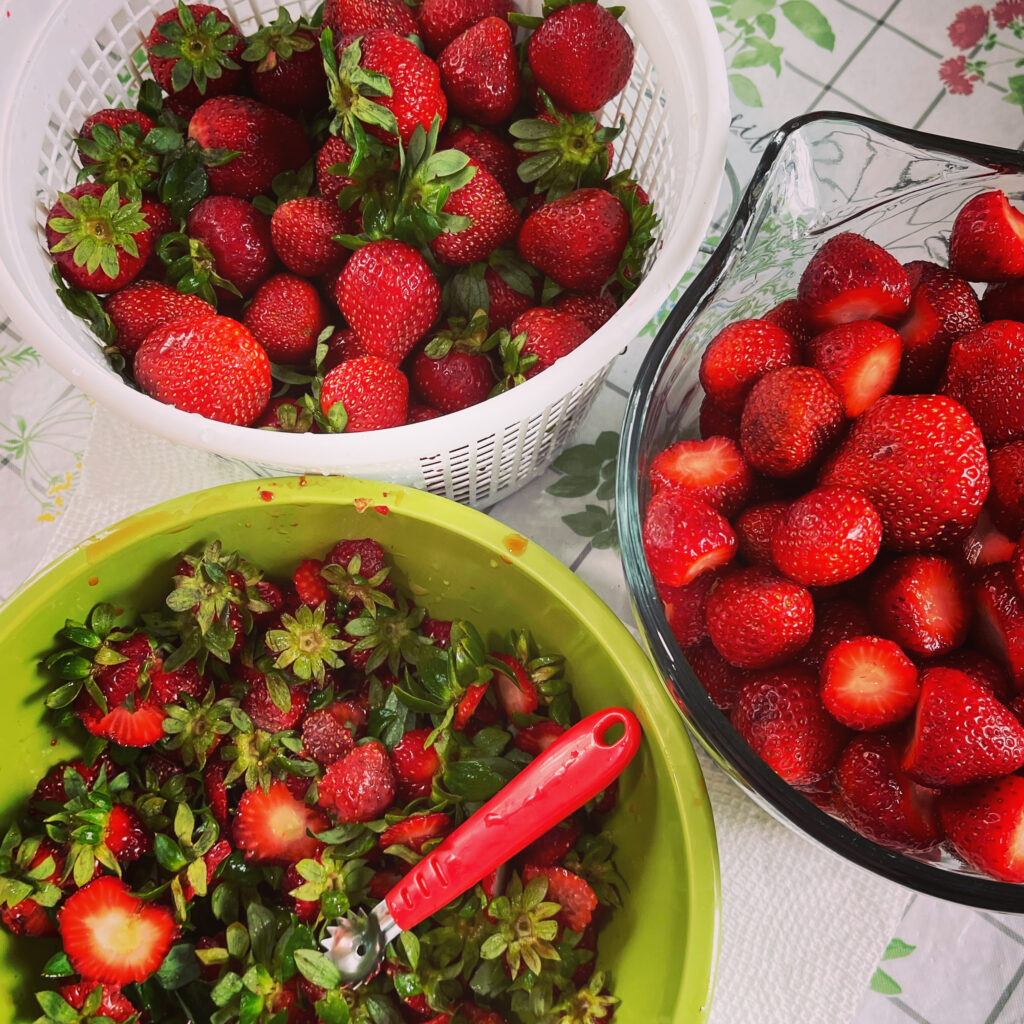
Once your berries are washed, use a small paring knife to cut the tops off, or a strawberry huller, which will make quick work of the job and removes less of the strawberry. You can use it for tomatoes too. Either way, use what you have. If you have larger strawberries, go ahead and halve or quarter them. But whatever you do, don’t throw away those tops! We have a special treat coming for those in the third week of the series.
Measuring
Measure out your cleaned and trimmed berries with a measuring cup and dump the berries into a large bowl. I use this large 8 Cup measuring cup as a mixing bowl quite often. It comes in pretty darned handy when I am canning and measuring large batches of my garden goodies.
Sugar and sit
Pour your sugar over top of the berries and give them a good stir making sure all of the sugar is incorporated all over the berries. You can go two different directions from here. You can let this mixture sit about 15 minutes to draw out some of the juices, heat it up on the stove a bit and use it right way. It will stay in an airtight container for 7 days. If you want to can it, then let them sit for 5-6 hours to draw out all of those yummy berry juices. If you put them in the fridge overnight, go ahead and cover them with plastic wrap or a lid.
Now lets can it
I use jelly jars for this recipe. I don’t have a large family to feed so we don’t really use a whole lot of this at one time so jelly jars are the perfect serving size for us. You can also use pint jars if you want to preserve larger servings. Make sure they are washed and cleaned well.
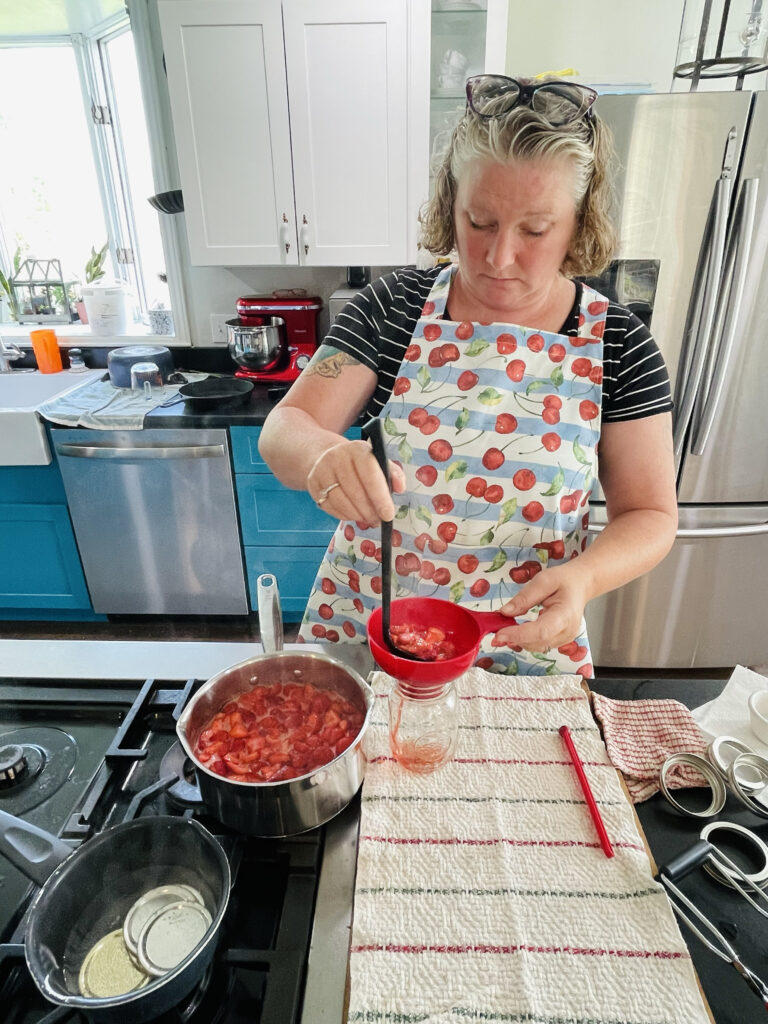
If you don’t have a water bath canner, then use your tallest stock pot. The pot needs it to be tall enough for the water to cover the jars about an inch. You will need a flat rack or fold up some aluminum foil and place it at the at the bottom of the pot so the jars are not rattling around on the bottom of the pot. Get that water into the pot and on the stove to heat up while you get all of your other supplies together. Also, place your jars in the pot of water too so they can be nice and warm when you pour in the heated compote. Your lids should be sitting in a hot water bath in a small pan at this time too.
If you are new to canning, this starter kit is a must have. You can find it at big box stores pretty easily. Basically it has all of the things you need to pluck hot things out of hot water. Yeah, you need it. Also, here is the same water bath canner that I use. Pretty standard. But oh so handy.
Your work station on the counter next to the stove should include: dish towels spread out on your work surface. On top of that should be your new canning tool kit, canning rings, ladle, small little bowl of vinegar to wipe the rims of the jars, paper towels to dab into the vinegar, hand towel or wash rag to help hold the hot jars and a spoon in case you overfill your jars.
I know that was a lot of mumbo jumbo for a simple little recipe, but hey, if your new to canning, this is the perfect 1st ever canning project. And it would tickle me pink if I were the one to teach you how to can and preserve your hard earned or hard grown goodies. Let me know in the comments if you are already a canner, want to learn to can, will be using this recipe as your first canning project, or just let me know if you are an expert canner. I am considering writing a canning 101 series and would love to hear from you.
Now for the recipe
Strawberry Syrup
Equipment
- 1 Large saucepan
- 1 Dry measuring cup
- 1 Liquid measuring cup
- 8 Jelly Jars, lids, ring seals
- 1 Canning rack and Canner
Ingredients
- Strawberry Tops
- Water
- Sugar
Instructions
- Pour strawberry tops in a stockpot and cover with water.
- Bring to a boil and simmer for 10-15 minutes.
- Take pot off the burner and carefully strain out tops.
- Pour juice back into the pot and add sugar. This is a 1 to 1 ratio, so if you have 6 cups of juice, add 6 cups of sugar.
- Bring juice back to a boil and then simmer until it reduces by 1/4, roughly 1 hour.
- Turn off burner, pour syrup int a jar and store in fridge.
- For canning instructions, process in hot water bath for 10 minutes.

